7 Ways to Go Green Around the House (Indoors and Outdoors!)

7 Ways to Go Green Around the House (Indoors and Outdoors!)

Sure, going green can involve big changes to your home and lifestyle if you so choose, but there’s also plenty of small, stress-free steps you can take to be environmentally friendly as well. There a number of ways you and your family can go green and improve your environmental impact by making small changes around the house. These eco-friendly changes don’t just benefit Mother Nature, but they can also end up saving you a little bit of money on your monthly utility bills.

If you’re unsure how to be green around your home, use these tips to get the ball rolling and go green:
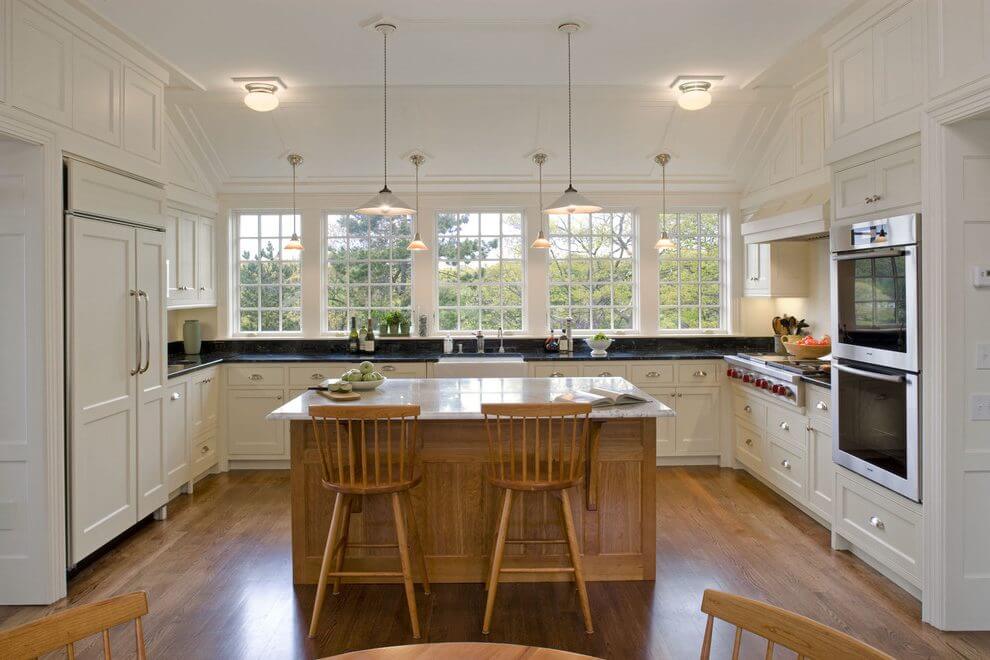
7 Ways to Go Green Around the House (Indoors and Outdoors! - Energy Efficient Light Bulb

Image Credit

1. Let in the Light

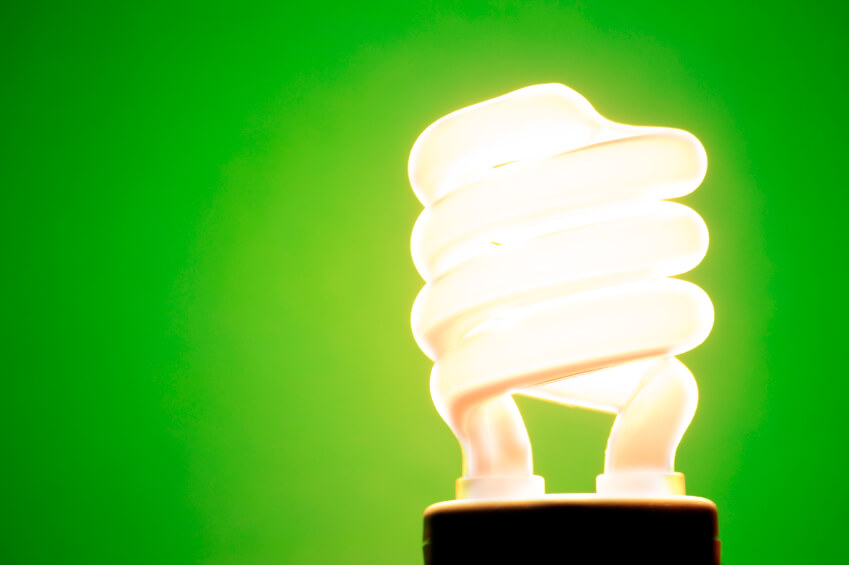
As subtle as it may seem, switching over to energy-efficient light bulbs can have an impressive environmental impact. According to Small Footprint Family, over the course of a few years, replacing standard incandescent bulbs with florescent or LED ones is beneficial for the earth and also your wallet.

Not only are environmentally friendly models between 25 percent to 80 percent more efficient, but they also last significantly longer. This little step can reduce your monthly electricity bill and also reduce the number of light bulbs that end up in the trash.

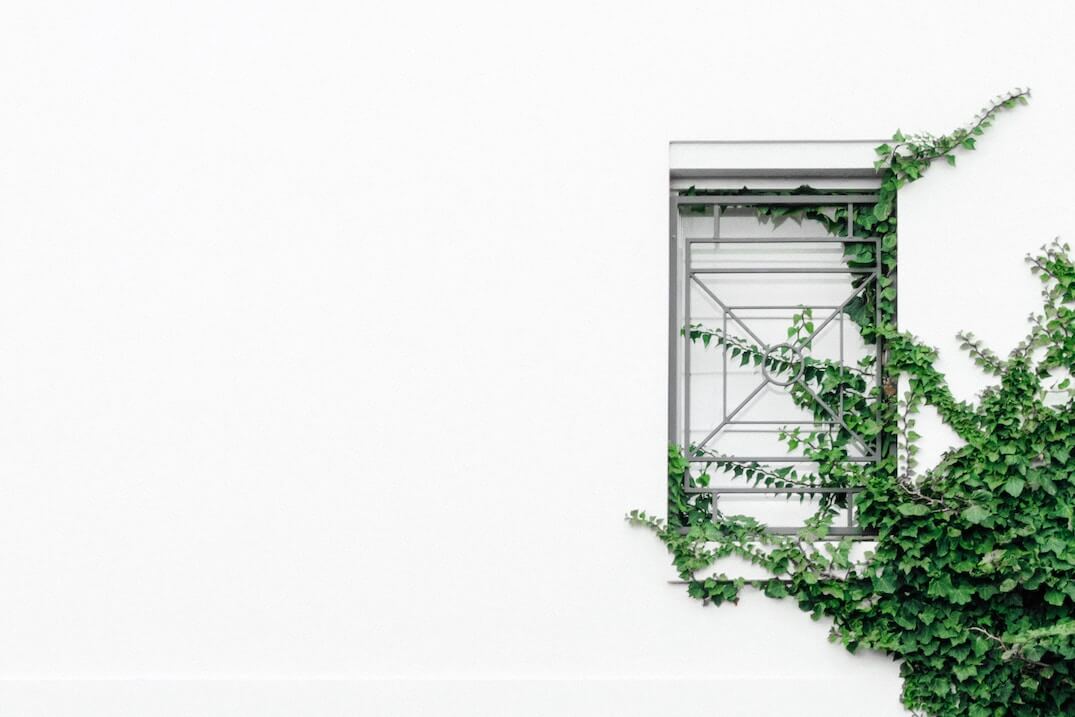
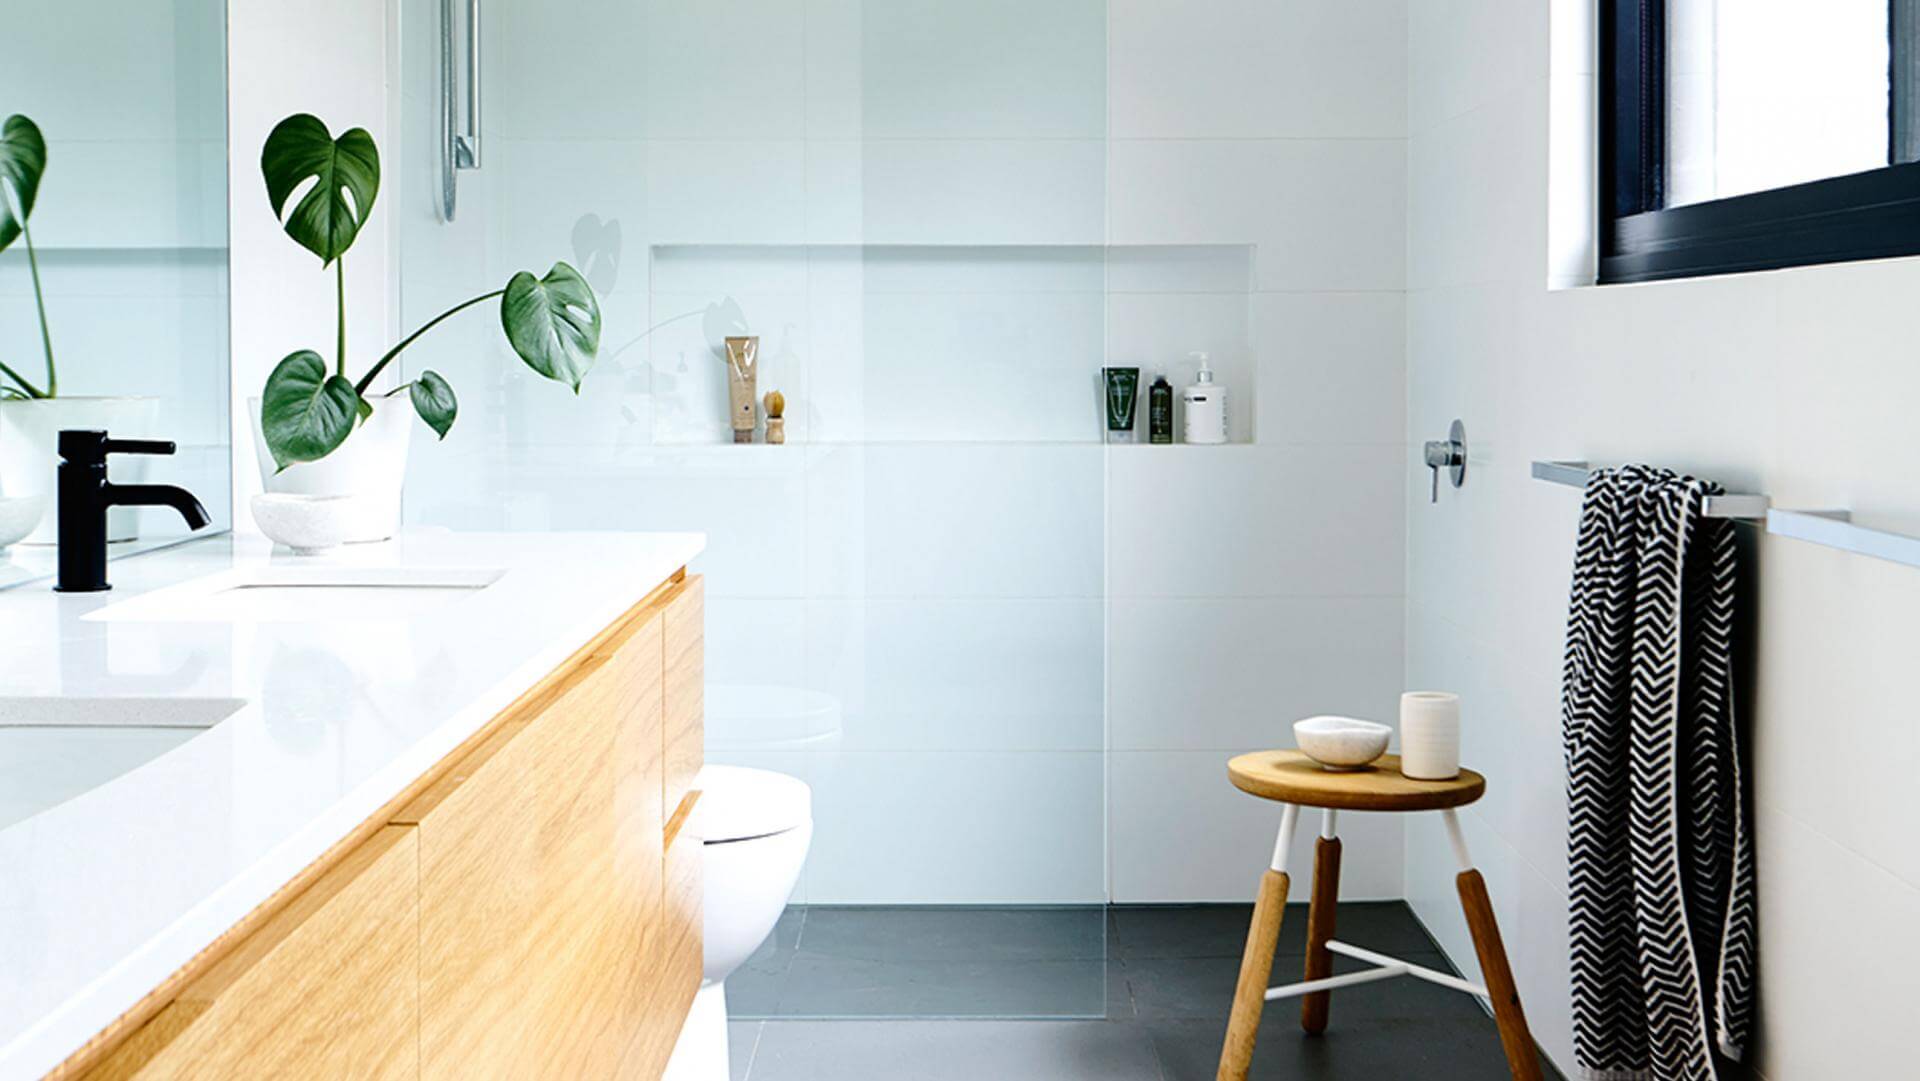
Another way to be more environmentally friendly is to find ways to use natural light. This could mean replacing windows and doors or even a small remodelling project, or it could be as simple as opting for new curtains. Either way, letting in sunlight during the day reduces the amount of electricity you use. Even in the cold of winter, direct sunlight can warm your home and allow you to turn the thermostat down a degree or two.

7 Ways to Go Green Around the House (Indoors and Outdoors! - Upgrade an Appliance

Image Credit

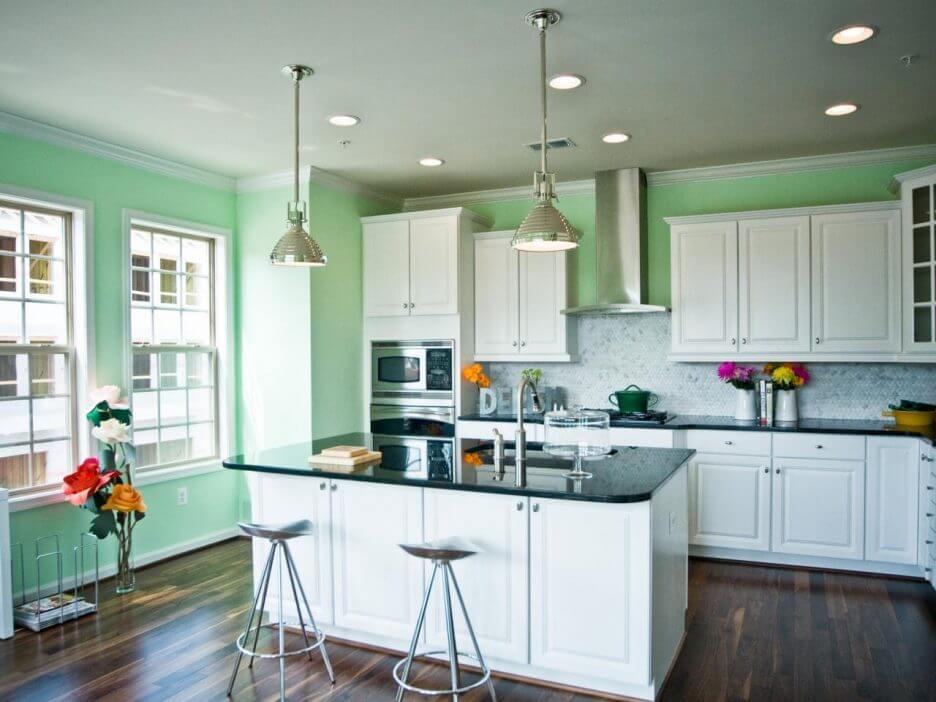
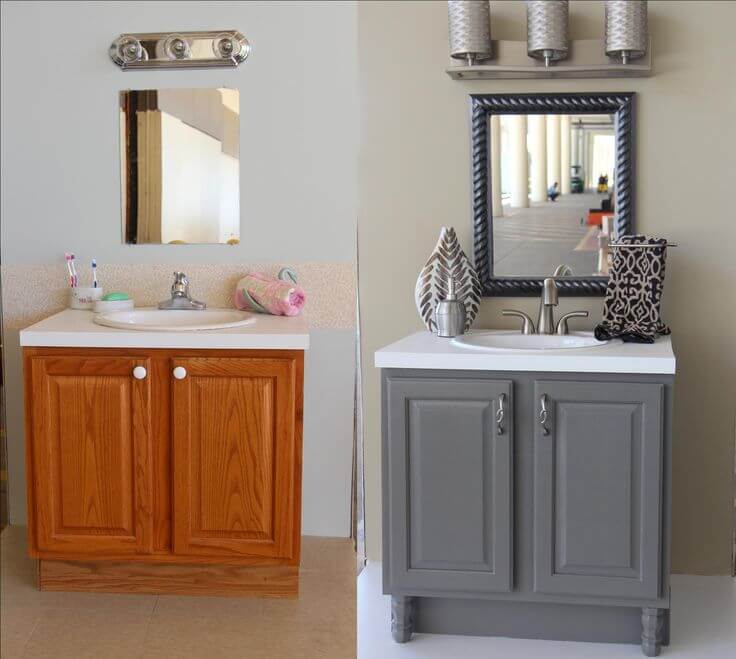
2. Consider Upgrading an Appliance

Efficiency is the name of the game when it comes to reducing your environmental impact, and replacing an older appliance with a newer model can make a big difference. The most modern appliances are more resourceful and powerful than older versions.

For example, Tree Hugger reported that an incandescent electric stove is much more efficient than a traditional one that uses coils or a true flame. This not only makes it possible to get a return on investment while helping the environment but you and your family also benefit from a new decorative addition to the home.
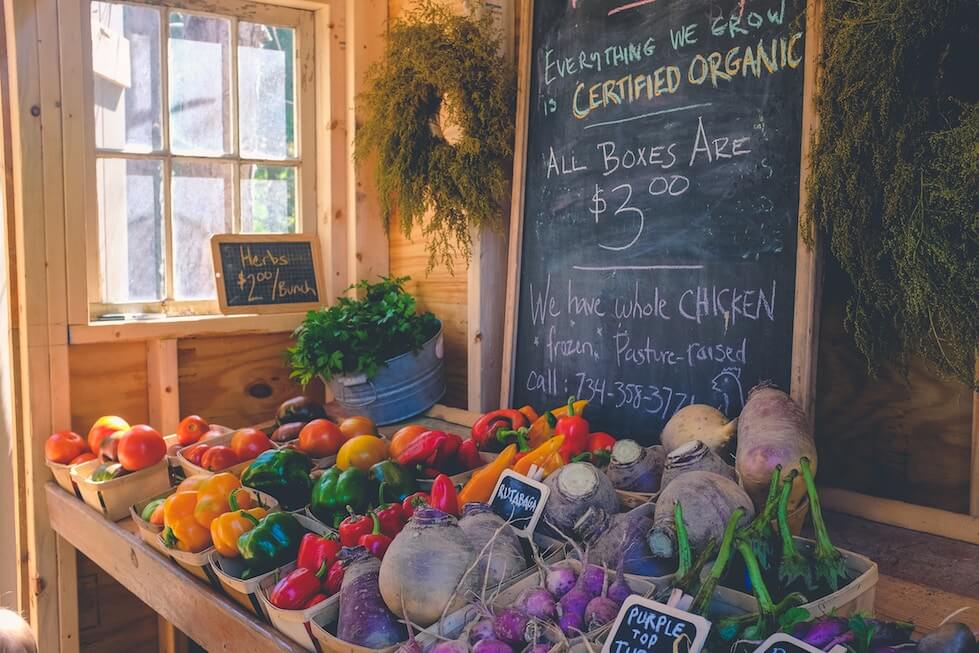
7 Ways to Go Green Around the House (Indoors and Outdoors! - Shop Locally

Image Credit

3. Shop Locally

Sometimes it can be hard to imagine the externalities associated with our food and other goods, but because these come from all around the world, odds are there is a sizeable carbon footprint and other environmental impact. Local items are preferable because they haven’t been shipped thousands of miles. Likewise, this has a positive impact on your local community.

It can be difficult or impossible to shop locally for larger products, but when it comes to produce or other more simple items, this can be an easy way to make a difference.

7 Ways to Go Green Around the House (Indoors and Outdoors! - Plant a Few Trees

Image Credit

4. Plant a Few Trees

Literally going green has a benefit for you, your home and the earth. A few well-placed trees serve a number of purposes. First, they shade your home in the summer and reduce the frequency with which you run your air conditioner. Plus they boost the curb appeal of your home and can possible increase property value. Select a few favourite native species, as these can also benefit birds and other critters that may call your yard home.

Elsewhere, you can use rain gardens and compost piles to do some good for the earth. These small projects can be completed in a weekend and help you and your family work to reduce your environmental impact.

If you choose to plant trees around your home, you can save up to approximately $250 a year on cooling and heating. To strategically place your trees, plant them on the south and west sides. Also try to shade the air conditioning unit if possible.

7 Ways to Go Green Around the House (Indoors and Outdoors! - Replace an Old Toilet

Image Credit

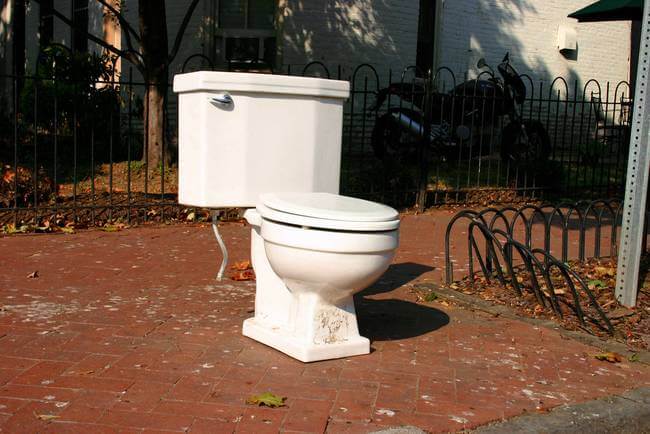
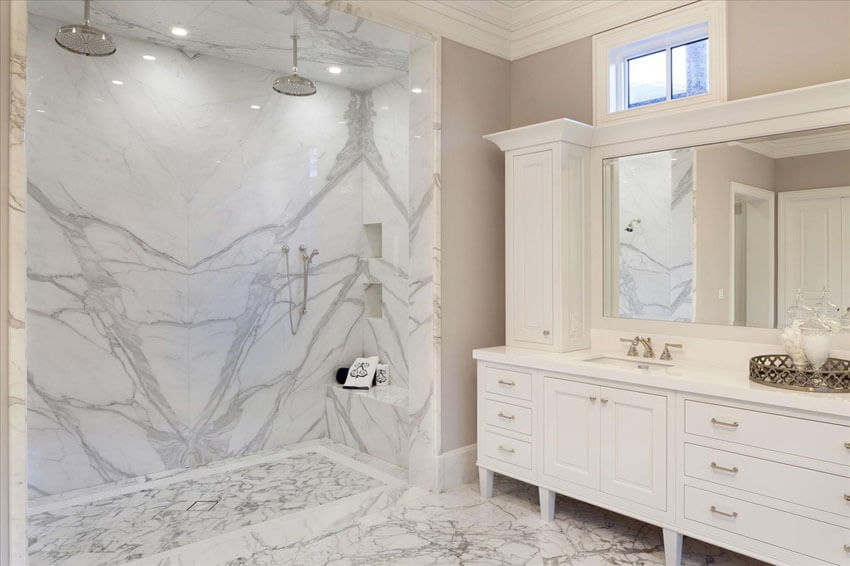
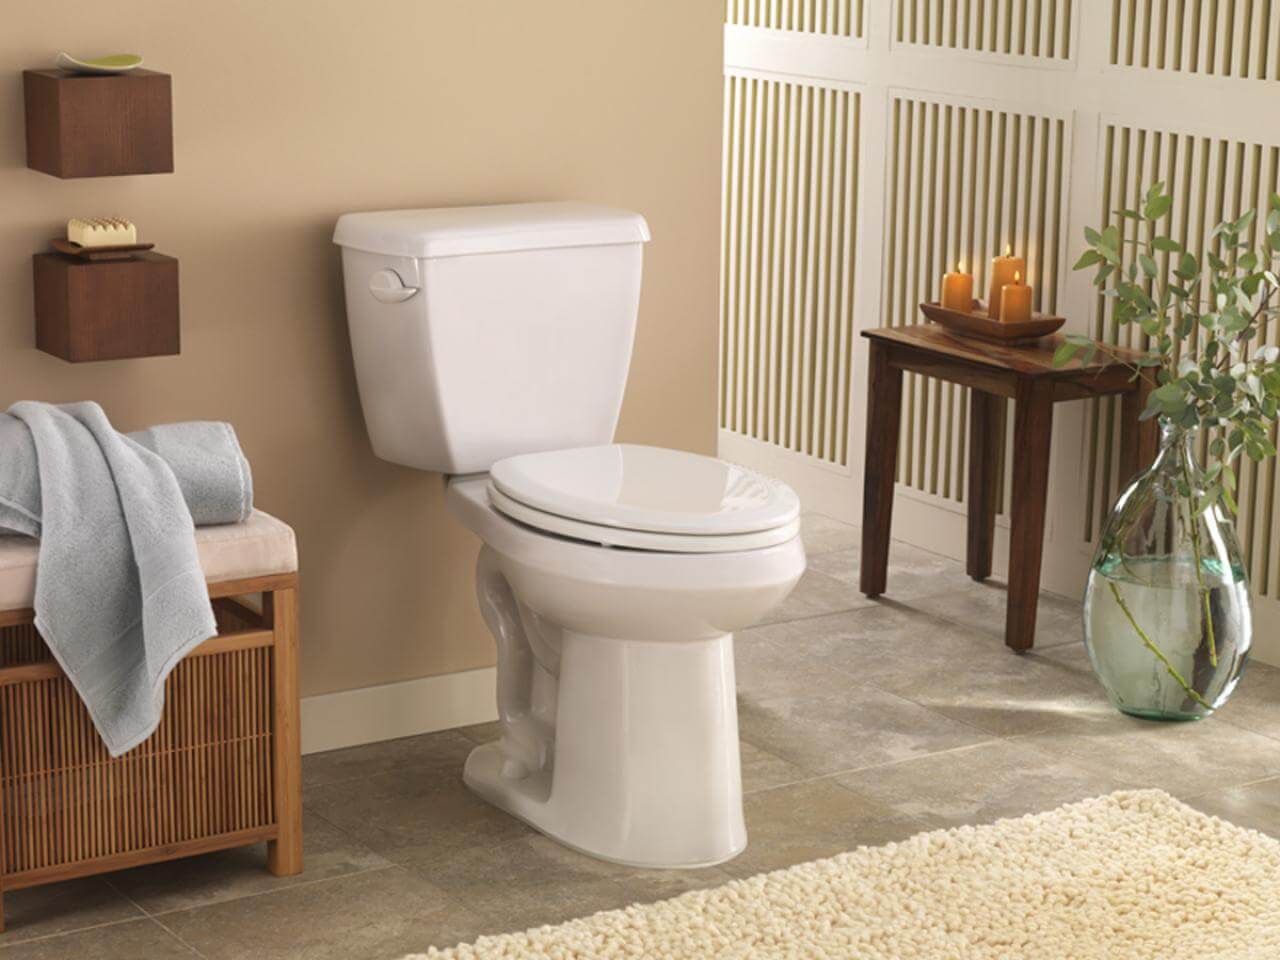
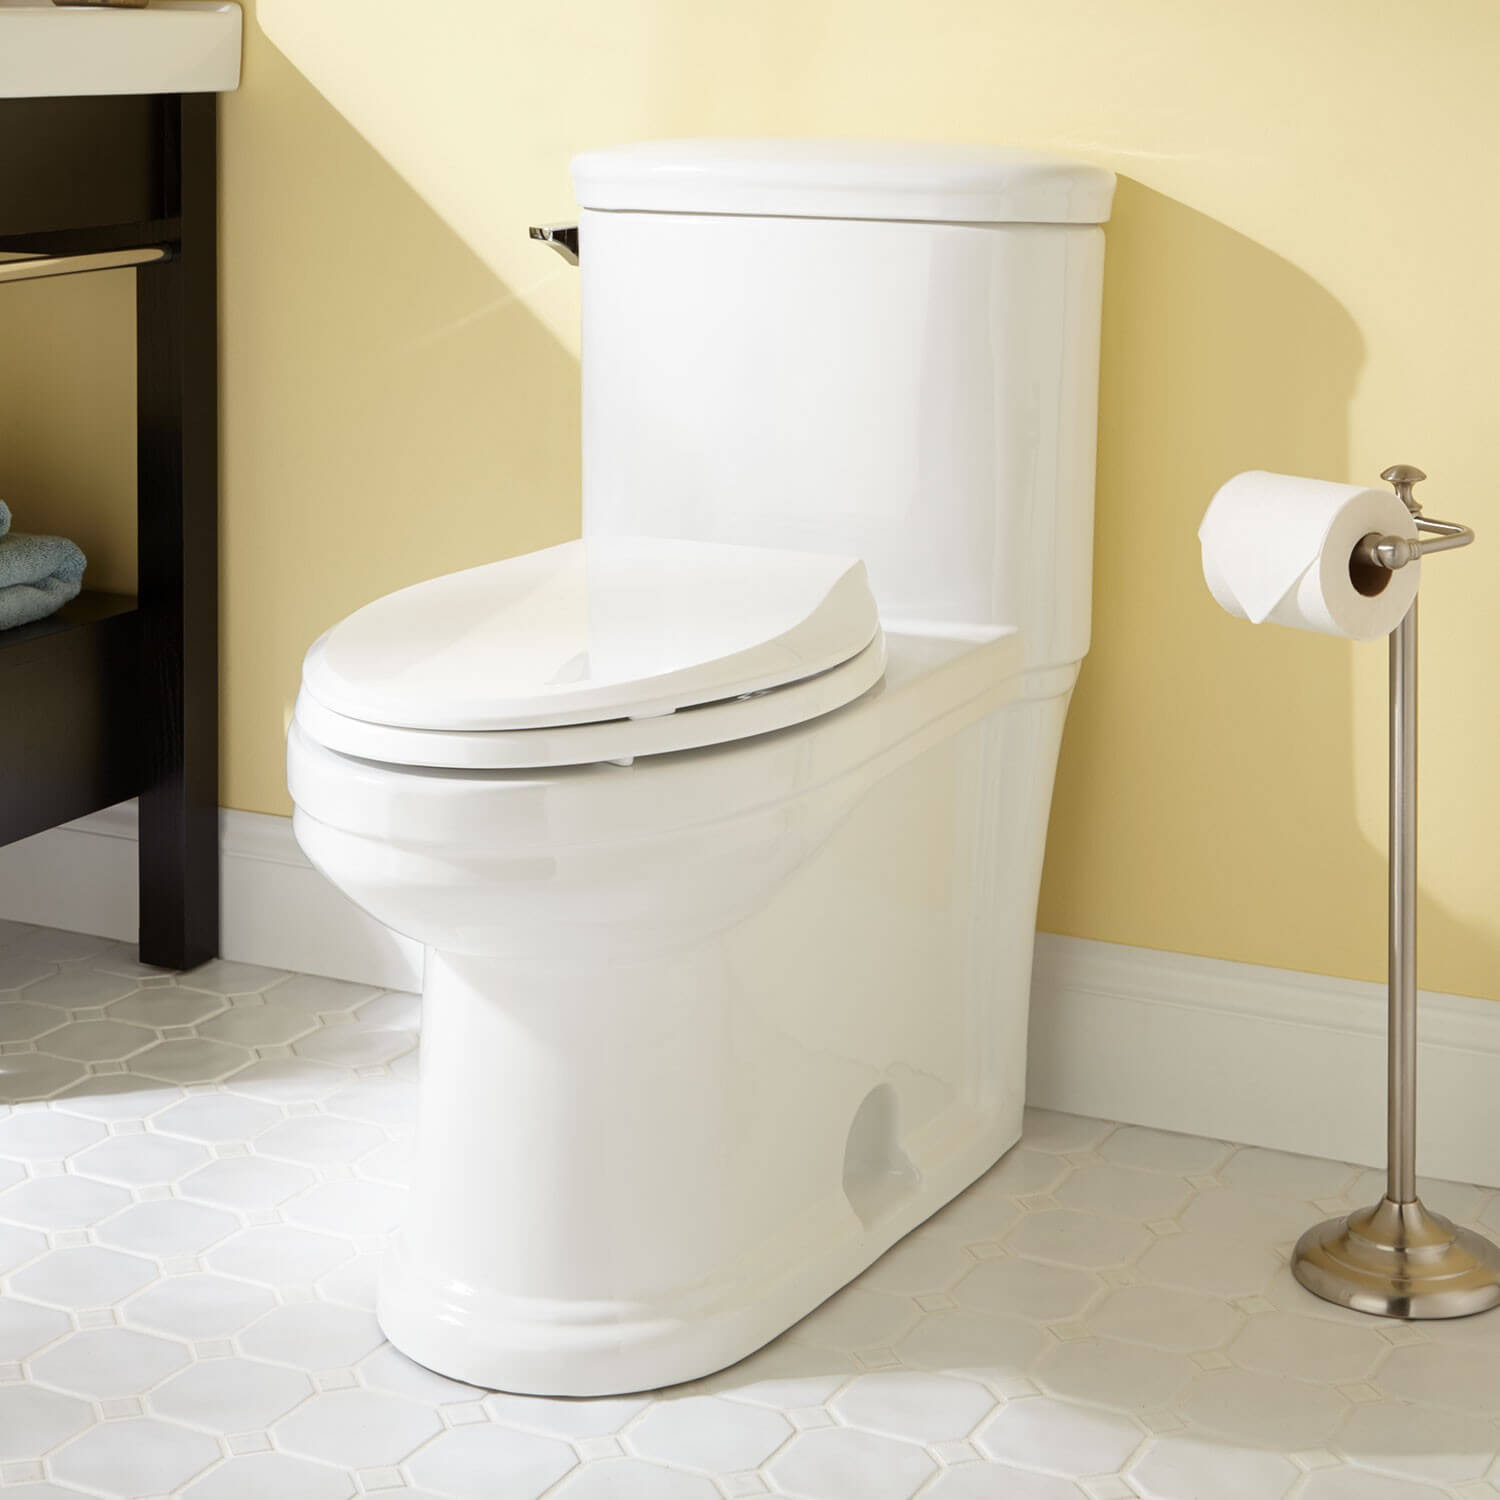
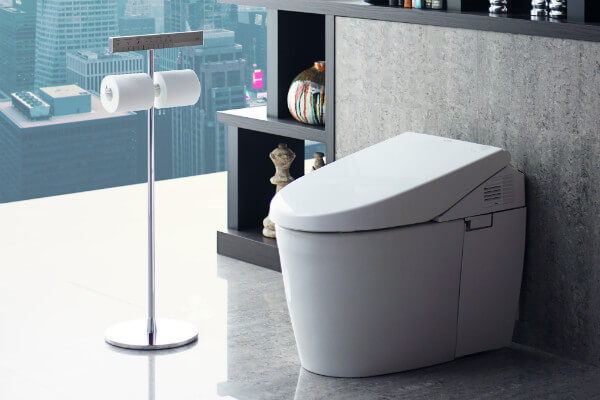
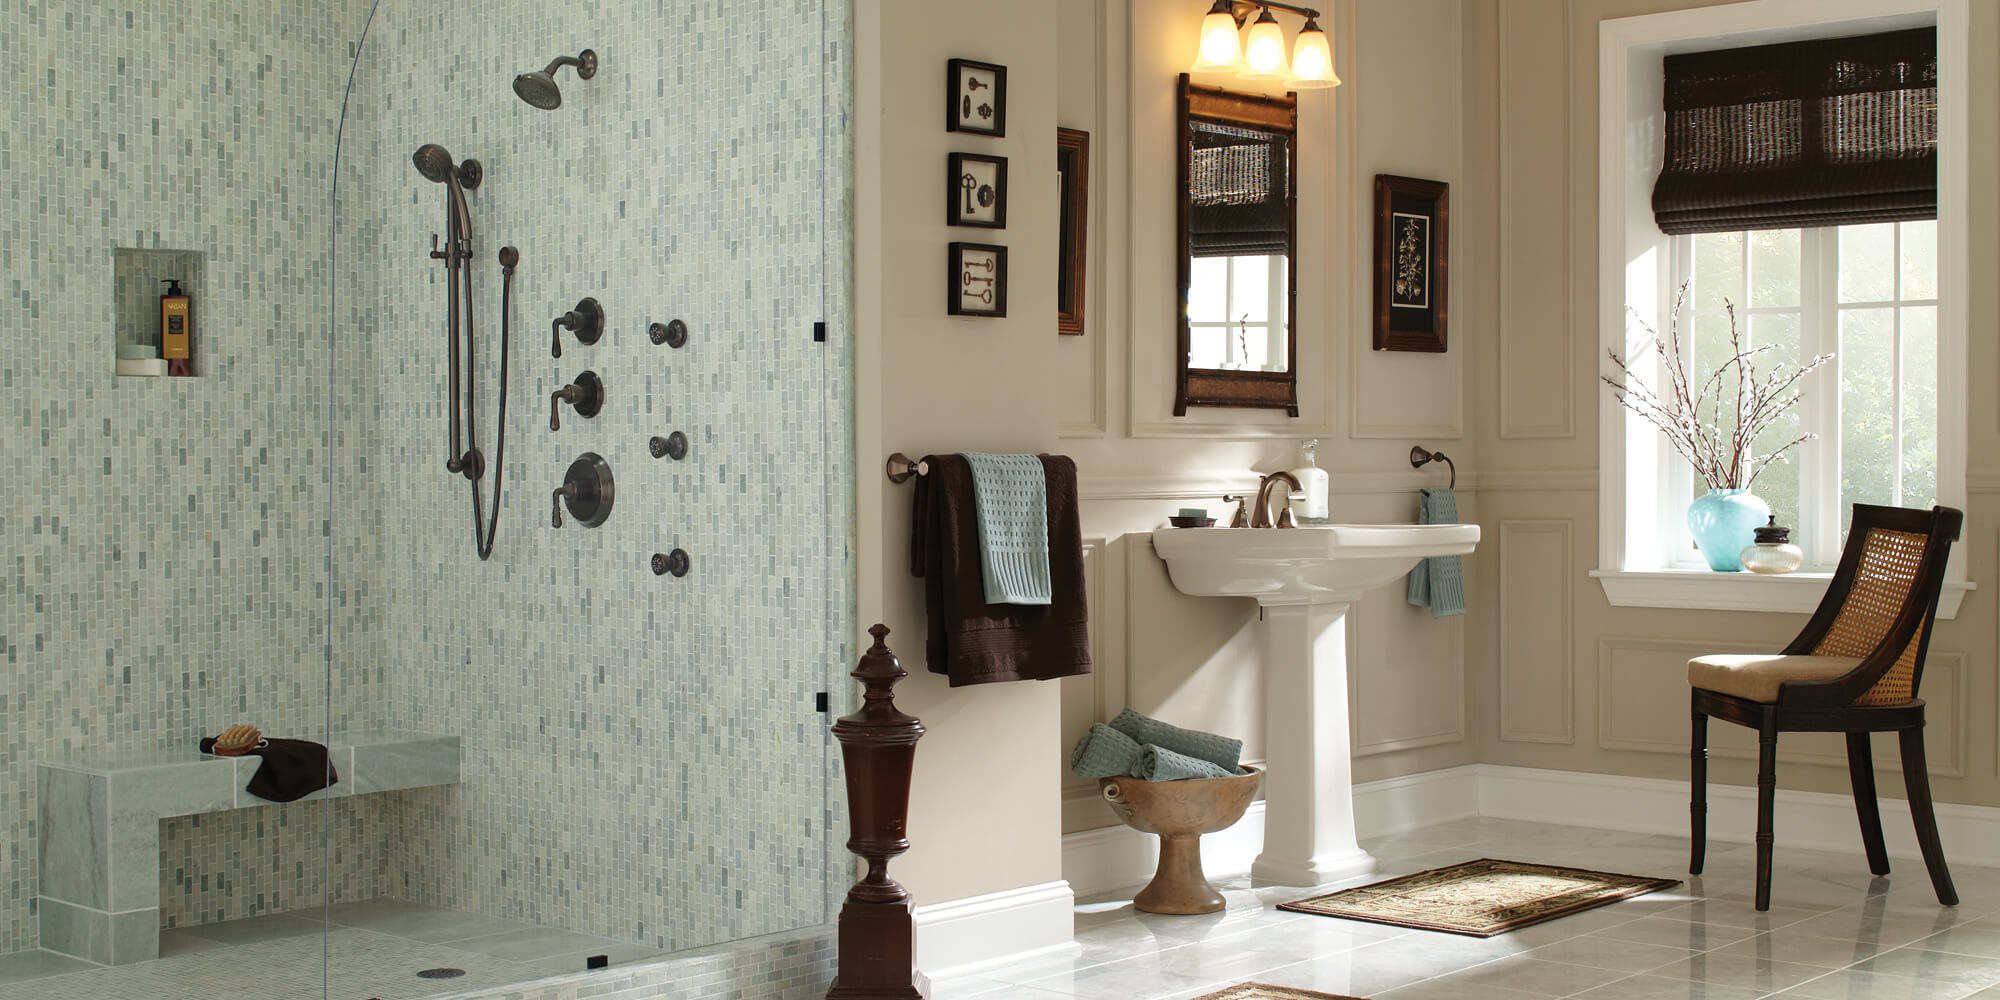
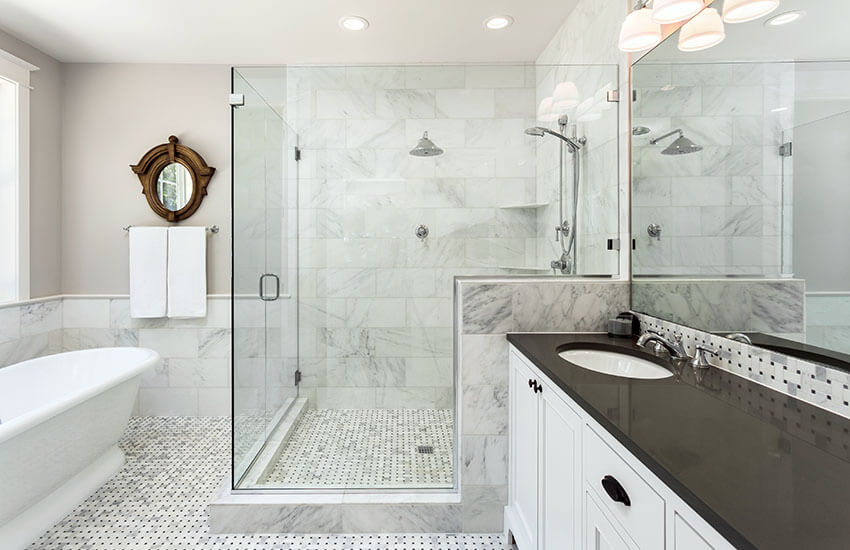
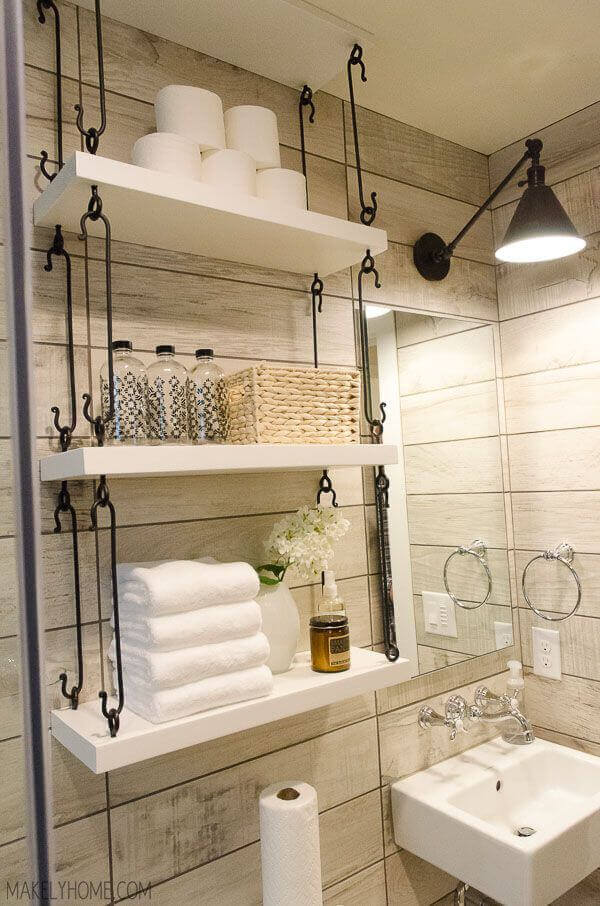
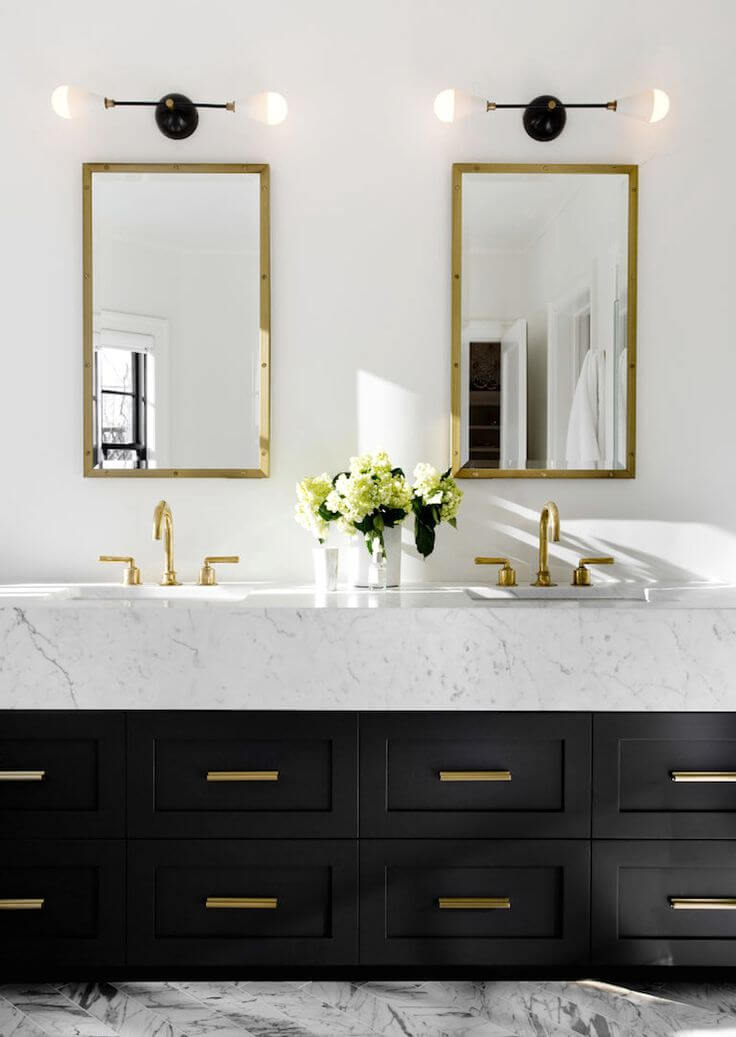
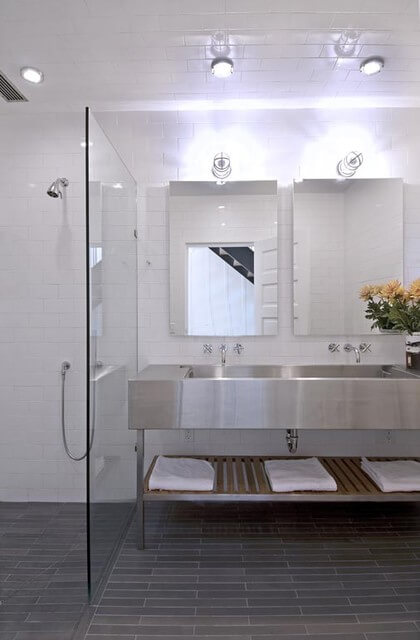
5. Replace an Old Toilet

Back indoors, there are still plenty of positive changes to make. And importantly, these need not be complicated to be effective. Eco-friendly toilets or low-flow toilet, for example, is a simple way to reduce your monthly water bill. When combined with a new shower head that also uses less water, you can quickly make a sizeable difference.

The way your family uses water and other resources adds up over the course of a month or year. Low-flow toilets and energy-efficient appliances are a good place to start, but be sure to talk about other ways to make a positive impact. Turn off the lights when you leave the room, take shorter showers with the temperature turned a little lower and be mindful of how you use certain items. For example, always run the dishwasher when it’s at its fullest and consider air-drying towels, blankets or jackets.

7 Ways to Go Green Around the House (Indoors and Outdoors! - Turn the Thermostat Down

Image Credit

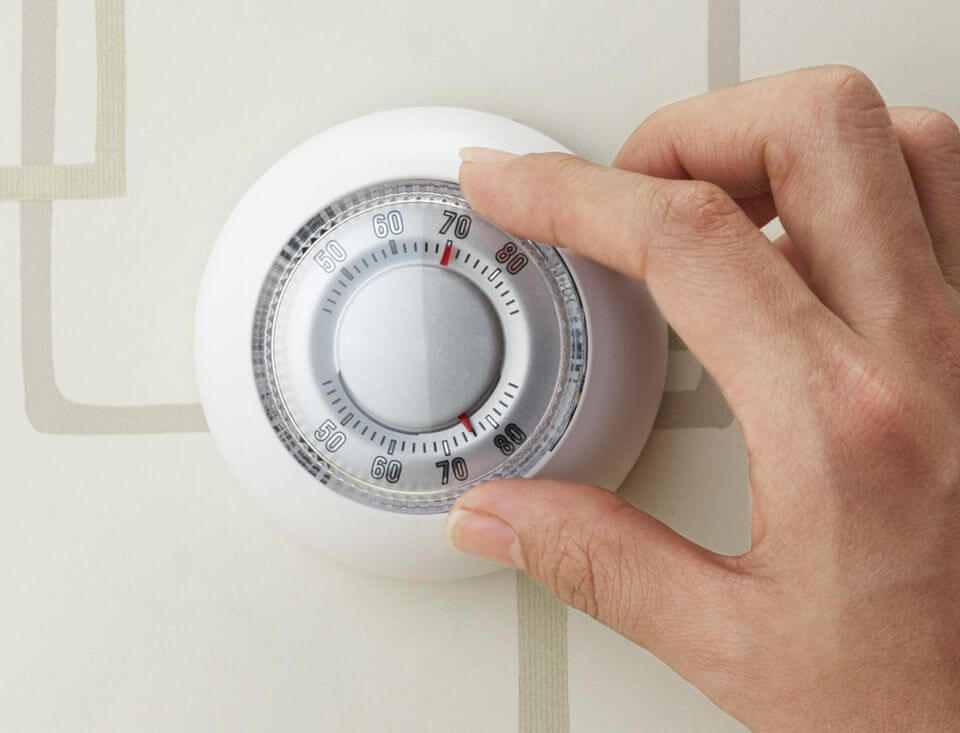
6. Turn the Thermostat Down

Go green by setting your thermostat a few degrees lower in the winter and a few degrees higher in the summer. This trick will not only be good for the environment, but it will help you save money on heating and cooling costs. Additionally, while you’re away, turn the thermostat down to 55 degrees Fahrenheit. There’s no point in heating an empty house when you could be saving energy and money.

You can also turn down the thermostat while you’re sleeping. Consider upgrading to a programmable thermostat to help these changes become a little more consistent.
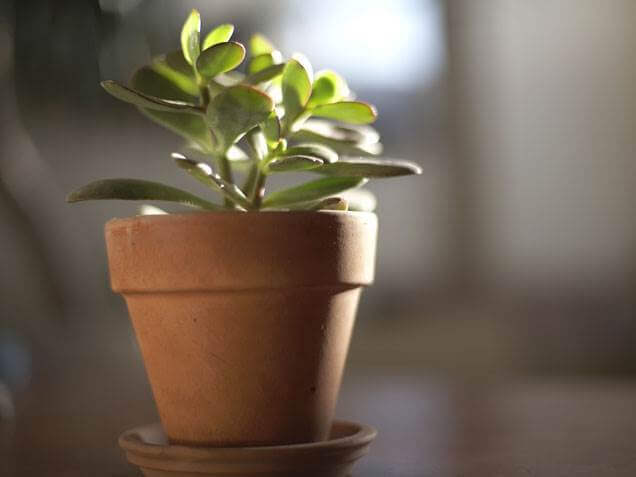
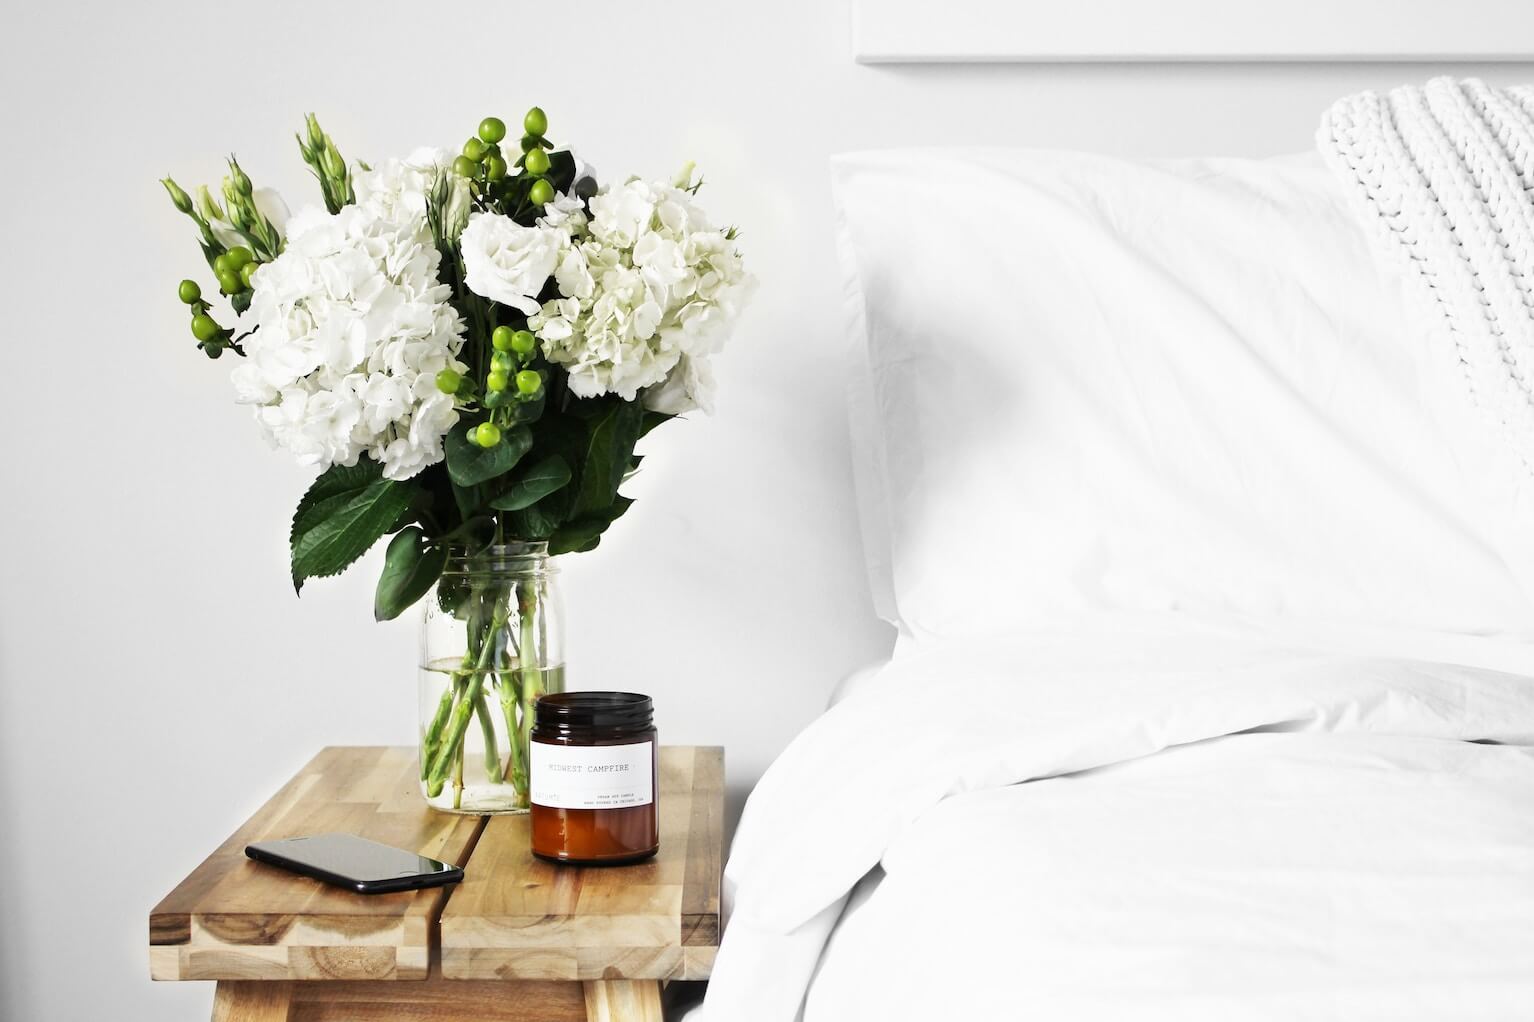
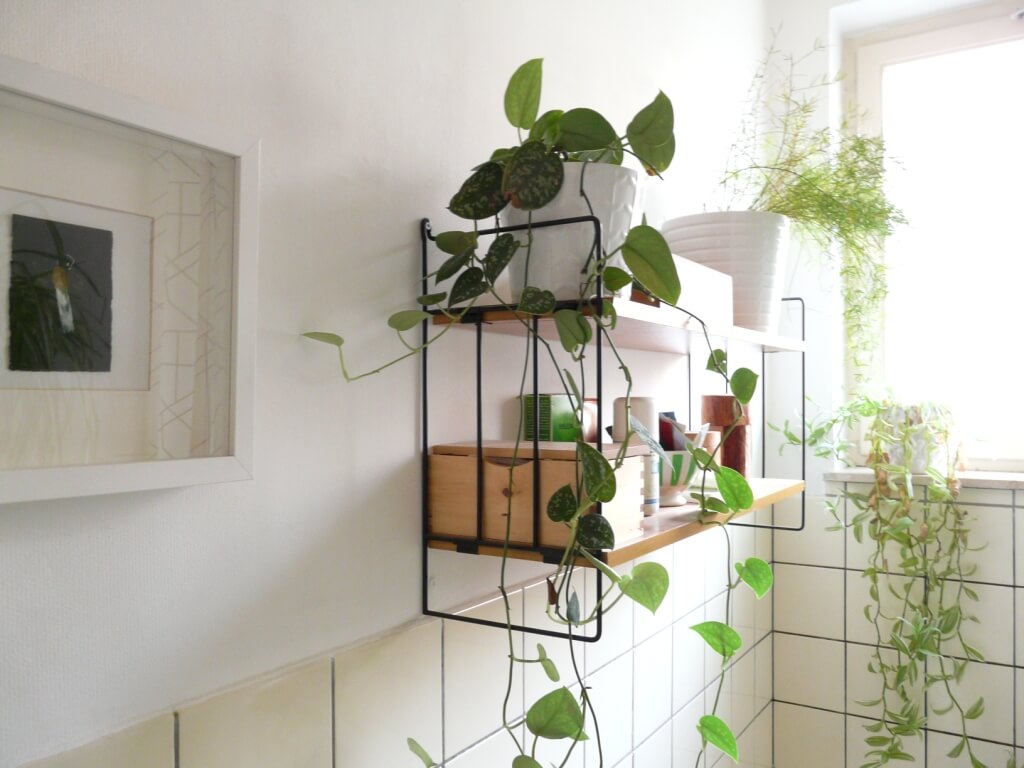
7 Ways to Go Green Around the House (Indoors and Outdoors! - Purchase a House Plant

Image Credit

7. Purchase a Plant

For a greener home, buy a new houseplant or a few. Everyone knows plants are beneficial to you and your family’s health. Plants convert carbon dioxide to oxygen, which affects our bodies and how well we function. So why not purchase a houseplant? A houseplant will freshen up your home, add some lively décor, and provide good air quality to help your health and well-being.

Some house plants to consider include:

  • Norfolk Island Pine
  • Peperomia
  • Chinese Evergreen
  • Dracaena
  • Fiddle Leaf Fig
  • Snake Plant
  • Philodendron
  • English Ivy

Thinking of going green? To find ways to make a positive impact at your house, visit a Kitchen & Bath Classics showroom today.

Treat Yourself to a Luxurious New Master Bathroom

Treat Yourself to a Luxurious New Master Bathroom

If you’re lucky enough to have a master bathroom in your home, don’t let it become an afterthought. You deserve to have a retreat to turn to after a long day at work or around the house. Having a soaking bath with a new novel is the perfect way to unwind at the end of the week (or on a Tuesday morning, we won’t judge!).

Master bathrooms are often seen as a convenience, and can get overlooked. But instead of leaving it to the side and focusing on the rest of your home, it’s time that you make your ensuite into the space you deserve.

Sure, your washroom is where you do your business and store your personal care items away from prying hands. But it can become something more than the place you go to get some much-needed peace and quiet.

Your bathroom can become the room in your home you look forward to spending time in. It can be a spa-like retreat where you read in the bath. It can even become an Instagram-ready showcase of your design and style preferences.

So, make your next remodelling project your master bathroom. If you’re ready to take the next step, here are our top pieces of advice for your renovation:

Treat Yourself to a Luxurious New Master Bathroom - Luxury Shower

Image Credit

Make the Shower Magnificent

Treating yourself to a bath is definitely nice, but on a daily basis, a shower can be more practical. And this is definitely something on which splurging is appropriate! You don’t want the time you spend in the shower to be less comfortable than the rest of your day.

According to the 2017 Houzz Bathroom Trends Study, the top master bathroom must-have is a gorgeous shower. That sounds pretty accurate, if you ask us.

Over half of those who participated in the survey want to expand their showers. 81 percent said that they are remodelling their bathrooms to fit a more modern, luxurious shower.

And having a larger shower isn’t the only thing homeowners are looking for. Of those surveyed, 12 percent said they were planning on installing mood lighting or digital controls. The most popular type of shower among those surveyed is an alcove shower. These showers help to create more room, which you can use to add a vanity, freestanding tub, or other feature.

Go ahead and add a luxury shower to your master bathroom, you deserve it!

Treat Yourself to a Luxurious New Master Bathroom - Freestanding Tub

Image Credit

Choose a Freestanding Tub

A freestanding tub may fit your space better than a built-in or alcove bathtub. It all depends on the size and shape of your bathroom, and your personal preference. If you’re looking for inspiration, all you need to do is scroll through Instagram or House & Home magazine’s website.

Freestanding tubs are glamorous and are available in a wide range of styles. From simple and modern to ornate and vintage, there are infinite options out there. Any freestanding tub will elevate your ensuite bathroom, making it a space you will want to retreat to!

A tub shaped like a bowl with clean lines can make your bathroom look more like a spa. On the other hand, a square tub can turn your bathroom into a modern escape. A clawfoot cast iron tub will make your bathroom look more Victorian. The choice is up to you!

Not sure if you need a new bathtub? Check out this article to find the major signs that you need to replace your bathtub!

Treat Yourself to a Luxurious New Master Bathroom - One Step at a Time

Image Credit

Take It One Step at a Time

It can be quite overwhelming to take on a bathroom renovation. This is especially true if you only have one washroom in your home, or you are remodelling your ensuite. To combat the stress of renovation, try taking on the project in portions.

You can update individual bits of your bathroom on an ongoing basis until you reach a point you’re happy with. For example, try changing the countertop of your vanity instead of installing a new one. Then, weeks later, you can paint the cabinets or switch out the cabinet doors.

Another quick project you can tackle in a weekend is painting the walls of your bathroom. To bring brightness and make the room feel larger, paint the walls a lighter, more muted tone. Your master bathroom should be a relaxing retreat, after all.

Finally, upgrade the fixtures in your bathroom to bring in a more modern or updated element to the space. If you want to bring current trends into your bathroom, consider brass or brushed metal for the fixtures. We love the look of a dark vanity with a light countertop and brass fixtures.


Making your master bathroom more special can be a fun project. It’s one of the few rooms in your home that is private and secluded. So take the time to refresh your master bathroom and turn it into a space where you can relax and unwind after a long day.

If you’re ready to transform your ensuite bathroom, head into your local Kitchen & Bath Classics showroom. Our experts can help you make your bathroom as unique as you are.

Game of Thrones: Your Guide to Finding the Best Toilet

Game of Thrones: Your Guide to Finding the Best Toilet

No house is a home without a bathroom, and what’s the most important feature of a bathroom? That’s right, the toilet. The toilet you select for you home is an important choice—one that you will likely be reminded of each and every day when you visit the bathroom. When looking for the best toilet to buy, there are various factors to consider and terms to know before making this crucial purchase.

Keep reading for your essential guide to buying the best toilet for you and your family.

Types of Toilets

First, you’ll want to be aware of what type of toilet you want for your home’s bathroom. The four types of toilets include:

Game of Thrones: Your Guide to Finding the Best Toilet - Two-Piece Toilet

Image Credit

1. Two-Piece Toilets

Two-piece toilets are the most common type of toilet. For these toilets, the tank and bowl are created separately. The bowl and tank are then attached before or during installation.

Game of Thrones: Your Guide to Finding the Best Toilet - One-Piece Toilet

Image Credit

2. One-Piece Toilets

Although one-piece toilets, which come in one piece, are usually slightly more expensive than two-piece toilets, they are also more durable.

Game of Thrones: Your Guide to Finding the Best Toilet - Wall-Hung Toilet

Image Credit

3. Wall-Hung Toilets

Wall-hung toilets are mounted on the wall. With the tank hidden inside the wall, these toilets are ideal for small spaces.

Game of Thrones: Your Guide to Finding the Best Toilet - Smart Toilet

Image Credit

4. Smart Toilets

Smart toilets offer upgrades such as heated seats, automatic flushers or hands-free flushing, dual-flush systems and more.

Different Flushing Systems

When it comes to selecting the right toilet for your bathroom, a toilet flush system may have a greater impact than you’d ever expect. Whether you are an eco-conscious homeowner or someone looking to avoid any potential backups and clogs, understanding the distinction between a low flow, high flow and dual flush toilet can help you make the most informed decision.

There are many different types of flushing systems available for toilets today. Each system has its own set of pros and cons. The most popular flushing systems include:

The History of Flushing Technology

Before the 1990s, all toilet flushing systems were virtually the same: Each flush would deliver anywhere from 2 to 7 gallons of water, activating a gravity-based system that pulled deposited materials down through your plumbing. The conventional wisdom was that the more water used per flush, the more effective the toilet was at limiting clogs or backups.

Beginning in the mid-’90s, governments worldwide started becoming more concerned with water conservation efforts. Toilets, as one might imagine, created a significant amount of waste water, which has to be shipped and processed. This not only consumes large amounts of water that could be used for other purposes, but it also has an enormous carbon footprint.

According to Rose George, author of The Big Necessity: The Unmentionable World of Human Waste and Why it Matters, “the sewage system [in the U.K.] uses as much energy as what the largest coal fire station in the [country] produces,” which equals out to about 28.8 million tonnes of carbon dioxide a year. In response, governments all over the world passed water conservation laws, many of them mandating that there be a 1.6 gallons-per-flush cap.

The Birth of ‘Low Flow’

Researchers studying the problem determined that, by tweaking the design of some toilets, they could function with 1.6 gallons or less per flush. These newly designed toilets were called “low flow toilets,” in contrast to the “high flow” or “high capacity” of previous years. While there were initially some issues related to retrofitting flushing technology to function with less water, later designs have been able to harness the power of the low flow flush to great effect.

Dual-Flush

A more recent innovation in flushing technology is the advent of the dual flush toilet. Pioneered in Australia where water is already scarce, dual flush toilets give users two distinct options: A button to flush liquid waste, which releases 0.8 gallons of water, and a button for solid waste that uses the full 1.6 gallons. By separating the functions, homeowners can cut their water usage dramatically.

Game of Thrones: Your Guide to Finding the Best Toilet

Image Credit

Factors in Finding the Best Toilet

When looking for the best toilet for you and your family there are several factors you’ll want to consider before making a purchase. Of course you’ll want to think about toilet dimensions and the toilet flush, but what else should you be looking for?

1. Comfort

First, consider the comfort of the toilet. How comfortable you feel should be one of your top priorities to find the best toilet. As toilets are essential, long-term investments, pick one you won’t be uncomfortable using for several years.

2. Durability

Next, think about the durability of the toilet while you’re taking a look at what’s on the market. Since, again, you’ll have this appliance for many years most likely, you’ll want one made of materials and finishes that will hold up over time.

3. Environmental Friendliness

Eco-friendly options should also be on your list of considerations when looking for the right toilet. If you’ve been shopping around already, you’ve likely noticed that the finest toilets available all are eco-friendly. Toilets that look to protect the environment will consume only what is necessary while in flush mode.

4. Rim Cleaning

Rim cleaning is also an important factor in finding the right toilet. Luckily, it’s not hard to find brands that cater to effective rim cleaning.  Some toilets will have holes pushed into the rims, allowing water to flush through, giving the rims an effective wash. Others ensure water flows directly into the toilet bowl. Some toilets even offer a combination of both of these features.

5. Toilet Seat

Lastly, what kind of toilet seat are you looking for? While sometimes toilet seats are not included in your purchase, make sure you include the seat in your research when looking for a toilet. Don’t forget to read the feature list to see if a seat is included. Seat options include soft close, heated, and standard.

Kitchen & Bath Classics offers the latest innovations in water saving toilets as well as other environmentally friendly products for your kitchen and bath. Stop by a Kitchen & Bath Classics showroom today to check out American Standard toilets and learn more!

How to Unclog a Kitchen Sink Without Harsh Chemicals (5 Methods)

How to Unclog a Kitchen Sink Without Harsh Chemicals (5 Methods)

Although clogged sinks are a common kitchen occurrence, that doesn’t make them any less frustrating. If your kitchen sink is utilized often in your household, there’s a chance it’s collected debris and slow build-up in the drain pipes over time, eventually clogging it.

There are various methods and approached you can take if you have a clogged sink. Thankfully, not all of them involve using harsh chemicals. To unclog a kitchen sink without harmful harsh chemicals, check out the methods below.

5 Ways to Unclog a Kitchen Sink Without Harsh Chemicals

How to Unclog a Kitchen Sink Without Harsh Chemicals (5 Methods) - Unclog With a Plunger

Image Credit

1. How can I unclog a sink with a plunger?

Do you have a plunger? If so, you’ll likely be able to unclog your sink. To unclog a kitchen sink with a plunger, first, fill the sink partially with water. You’ll want the water to be hot and fill about ¼ to ½ of the sink.

Next, place the plunger over top of the sink drain. If you have a double sink, temporarily clog the unclogged sink by stuffing a towel or washcloth in it. This is will ensure the plunger’s pressure is focused on the clog in the other drain.

Once the plunger is in place, work it up and down quickly. Then, remove the plunger from off of the drain and check to see if the water in the sink starts to drain. If the drain is still clogged, try using the plunger until the clog is dislodged. If this is taking a while and doesn’t seem to be making any difference, give another method a try.

Pro tip: For sanitary reasons, if you use a plunger to unclog your sink, make sure you use one that is not used in your bathroom. You can keep one in your kitchen, and one for your washroom(s). Better yet, you can get a specialized sink plunger that will have a superior suction in a kitchen or bathroom sink.

How to Unclog a Kitchen Sink Without Harsh Chemicals (5 Methods) - Homemade Drain Cleaner

Image Credit

2. How can I unclog a sink with homemade drain cleaner?

To make homemade drain cleaner, use vinegar and baking soda. Begin by putting on a pair of rubber gloves. Using a bowl or cup, try to get any water out of the sink and discard that water in a bucket or elsewhere.

Now, take 1 cup of baking soda, and push it down the clogged kitchen sink drain. You can make use of a spatula for this step to help force the baking soda in. The vinegar comes next. Pour 1 cup of vinegar into the opening of the drain and then put the stopper into the sink. This will force the vinegar into the clog.

Wait five minutes after pouring the vinegar in to allow the solution to work into the clog. After five minutes, run warm water to check if the clog has disappeared. If the clog still appears to be there, pour four cups of boiling water down the drain.

How to Unclog a Kitchen Sink Without Harsh Chemicals (5 Methods) - Use a Drain Snake

Image Credit

3. How can I unclog a sink with a drain snake?

For this method, use a small hand-operated drain snake to take on your clogged sink. Handheld drain snakes are widely available and easy to find at hardware supply stores. Typically, these drain or plumber snakes cost less than $10.

The steel wire design of these drain snakes is what will allow them to bend around pipes and twist to remove debris. To use the drain snake on the clogged sink, push the snake into the clog and crank it down further into the pipe and obstruction.

4. How can I unclog a sink clogged with grease?

Fatty substances can be tricky to from a clogged kitchen sink, and unfortunately, these substances can get into the drain pretty easily in the first place. Grease and fatty substances go down the drain easily when in a liquid state, like when you’re dumping hot grease in a pan or dissolved fat into the sink dishwater. However, as the substances move through the pipes, they also cool and coat the pipes’ insides.

So how can you unclog a sink clogged with grease? Your best bet is to use liquid dish detergent and hot water. In future, take the steps below to prevent grease drain clogs for occurring again:

  • Don’t put fats, oil, or grease down a drain or garbage disposal.
  • Avoid using hot water to attempt to melt the fats so they rinse further down the drain. This method will result in the fats eventually cooling and continuing to clog your pipes.
  • Dispose of waste in the trash, including vegetable peels.
  • Install a hair filter in the drain.
  • Monthly, flush the kitchen drain with salt and hot water.

Pro tip: Keep a mason jar next to your stove and pour kitchen grease into it when you are done cooking. Keep the lid on it, and dispose of it when full.

How to Unclog a Kitchen Sink Without Harsh Chemicals (5 Methods) - Remove the Trap

Image Credit

5. How can I unclog a sink by removing the trap?

Removing the drain trap is often the final method to try when other methods to unclogging kitchen sinks don’t work. If a plunger or homemade drain cleaner doesn’t do the trick, the last step is to remove the trap.

While the shape of the trap has an important purpose, it can also be frustrating, as it easily clogs with debris washed down the kitchen sink drain. Remove the drain trap to get direct access to the clog. This will give you the opportunity to clearly see the clog and be able to remove it.

If you take this step and find the clog is not in the drain trap itself, you still will be able to take a look at the surrounding pipe and see if you can determine where the clog is located in the pipes.


For more critical kitchen sink info or to browse products to modernize your kitchen, stop by a  Kitchen and Bath Classics location today!

The Most Essential Kitchen Utensils for Any Home

The Most Essential Kitchen Utensils for Any Home

Whether you’re a seasoned chef or amateur cook, there’s a set of essential kitchen utensils any home needs. And if you’re just moving into your first home or perhaps just needing additions to your kitchen utensil set, you’ll need to know all the essentials to prep and cook your meals with.

Don’t let yourself get stuck in a sticky situation in the kitchen and be left without necessary utensils. Check out the list below to know just what utensils you need to stock your kitchen with.

The Most Essential Kitchen Utensils for Any Home - Spoons and Ladles

Image Credit

1. Spoons and Ladles

When looking for kitchen utensils or a utensil set, make sure you grab those with more than just spoons, but also a ladle or two. When looking for a ladle, search for one with a large “bowl.” A larger bowl on this kitchen utensil will make it easier for you to serve soups. Also, keep an eye out for a ladle with a bent handle at the top. The bent handle is helpful in the way it will allow you to hook the ladle on to the side of a pot or bowl.

When picking out spoons, don’t forget to grab a slotted spoon. Find a slotted spoon with a stainless steel handle so it will be sturdy and also not get too hot.

The Most Essential Kitchen Utensils for Any Home - Spatulas

Image Credit

2. Spatulas

The kinds of spatulas you’ll need in your kitchen include a rubber spatula, a metal spatula, and a wooden spatula. For metal spatulas, you’ll want to consider the width of the blade. A thin blade will allow you to get under more delicate foods like pancakes, while a medium blade will prevent handling foods at an awkward angle.

The rubber spatula you choose for your kitchen utensils should be sturdy but flexible. The spatula should be strong enough to support heavy dough, but flexible enough to get into the corners of containers.

The Most Essential Kitchen Utensils for Any Home - Knives and Shears

Image Credit

3. Knives and Shears

You’ll need a couple different essential knives for your kitchen. First, chose a chef’s knife to add to your kitchen utensils. Find a knife with an 8- to 9-inch blade that feels comfortable to handle. Also look for a knife with a thick bolster. The bolster is the metal reaching from the handle to the edge of the blade, and it acts as a guard to protect your fingers while chopping.

Paring knives are also essential kitchen utensils to keep in your home. The blade of the paring knife you choose should be between 3 to 4 inches. This length blade will allow you to make small, fine cuts on fruits and vegetables.

Though a chef’s knife is more essential and versatile, a serrated bread knife should also be a part of your utensil set. A nice serrated knife, also known as a bread knife, is hard to substitute so make sure you choose the right one. Opt for a serrated bread knife with a rigid blade that extends at least 8 inches. The knife should have an offset handle as well. These two features will let you slice through bread without hitting your knuckles against the surface below.

Lastly, invest in a nice pair of kitchen shears with tapered, fine tips.

(Of course, don’t forget your cutting boards either. Whether it’s a fancy wooden cutting board or a heavy-duty plastic cutting board, make sure you have at least one cutting board on hand in the kitchen.)

The Most Essential Kitchen Utensils for Any Home - Presses and Graters

Image Credit

4. Presses and Graters

The presses essential to your kitchen will be a garlic press and a lemon press. Presses offer a shortcut while chopping. A garlic press works on unpeeled garlic cloves but look for one that’s dishwasher safe. Premium lemon press models will fit both limes and lemons. Find a lemon press that has ridges to grip the lemons/limes well.

When looking for a grater to add to your kitchen supplies, find one with different grate options. A box grater will give you different grate, shred, shave, dust, and zest options.  As always, choose these kitchen gadgets that have sturdy handles.

A microplane grater might also be an essential for your kitchen. Microplane graters are used for smaller tasks to grate various foods such as cheese and nutmeg. These graters offer a finer grater, so go for a sharp, stainless steel model.

The Most Essential Kitchen Utensils for Any Home - Measuring Cups and Spoons

Image Credit

5. Measuring Cups and Spoons

To get accurate quantities of ingredients, you’ll need kitchen utensils to measure them. You’ll likely need both measuring cups and spoons on hand in your kitchen. Purchase measuring cups for both dry ingredients and liquids.

When it comes to measuring spoons, look for oval models, as these will more easily and more likely fit into small jars and containers, like spice jars.

The Most Essential Kitchen Utensils for Any Home - Can Opener

Image Credit

6. Corkscrew and Can Opener

Have you ever been excited to bust open a bottle of wine just to realize you don’t have a tool on hand to help you uncork it? A corkscrew is a kitchen essential. While two-armed models are an option for corkscrews, a standard waiter’s corkscrew can open both beer and wine. The waiter’s corkscrew also takes up less space.

When purchasing a can opener for your kitchen utensils, look for a safe-cut or smooth-edge model. These models will cut around the outside of the can, opposed to cutting the lid. These can openers will also produce smooth edges and never let the lid fall into the can.

If you’re moving into a new home, renovating a kitchen, or just looking to spruce up your space, you’ll need more than just kitchen utensils. For help completing a dreamy, inviting kitchen, head to a Kitchen and Bath Classics showroom and chat with our experts.

10 Simple Ways to Revitalize Your Old Bathroom

10 Simple Ways to Revitalize Your Old Bathroom

When you think of beautiful bathrooms, does your current bathroom measure up to those you adore?

While it’s the most private part of your home, your bathroom is also one of the most important spaces in your house. It can be easy to overlook sometimes, but a boring or old-fashioned set up can be uninspiring and in need of change. By making your bathroom a bit more modern, you can give your home a subtle yet powerful facelift.

Small renovation projects can go a long way toward giving your bathroom a new identity. If you’re ready to step up your game and modernize your old bathroom, consider these 10 ideas to create a beautiful, more current bathroom:

10 Simple Ways to Revitalize Your Old Bathroom - Replace Your Wallpaper

Image Credit

1. Replace Your Old Wallpaper

One of the first things you should consider when revamping a bathroom is the wallpaper. Tacky, older patterns and designs date the room and will likely show wear-and-tear in the forms of stains and tears. Even an outdated paint job can serve to make your bathroom feel more tired.

Look for colours that are simple but bold. A single splash of red or even a white bathroom can give your bathroom more light. You might also decide to try a new pattern or style. One suggestion is to use different shades of the same colour to create a more subtle but equally interesting vibe.

2. Paint the Inside of Cabinets

Beyond the walls, a hint of the chromatic can help make your bathroom not only feel more modern but also more personal. HGTV found that the inside of the drawers on your sink or vanity cabinets are an excellent place for some colour. Opt for bold choices like pink or yellow, and consider getting matching towels to give the room even more charm.

Fixtures: BRIZO, available in Kitchen & Bath Classics Showrooms

3. Consider a New Shower Head

Another part of your bathroom that can age rather quickly is your shower head. An old design isn’t just unpleasing to the eye, but may also not offer much in the way of water pressure. The most contemporary fixtures are sophisticated and will improve the quality of your morning shower.

Likewise, many of the newest models are also more efficient than their older counterparts. This can lower the total bathroom renovation cost because you end up saving money on your monthly water bill.

4. Opt For a Sleeker Mirror

Thick medicine cabinets that jut out from the wall aren’t particularly attractive, and the right mirror can really elevate your bathroom. Chose a more simple and elegant version. When paired with the right lighting, this turns an old upstairs bathroom into one of the most modern places in the house. it will make getting ready for work or preparing for bed just a little more glamorous.

If you’re looking for bathroom mirror inspiration, head over to this blog post to find some new ideas!

5. Install a High Efficiency Toilet

According to the organization Conserve H20, some older toilets use over 12,000 gallons of water every year. Not only is this detrimental to the environment, but it is also bad for your wallet. A high-efficiency toilet uses 20 percent less water than an equivalent standard model. Over the course of its life, this type of toilet can provide a major benefit to your home and Mother Nature.

Importantly, these toilets also look stylish and are another great way to give your bathroom a more stylish appeal. Older versions aren’t just bland, but are also more prone to issues related to plumbing and other maintenance.

10 Simple Ways to Revitalize Your Old Bathroom - Bring in Some Plant Life

Image Credit

6. Bring in Some Life

A few well-placed plants give your bathroom a little bit more sensibility and pizzazz. They can also help aerate a room and deal with stagnant conditions. Use a windowsill or shelf to place a few succulents or other low-maintenance species. For larger bathrooms, a fish tank is a fun way to really uplift the room.

7. Get Smart

A new paint job or potted plant is a simple way to make your bathroom feel more modern. To really bring the space into the 21st century, however, you may want to opt for some technology. Smart mirrors can display the time, weather and dozens of other helpful reminders. Smart speakers, meanwhile, can be summoned with a simple voice command to help you get ready for your day.

The addition of smart technology is a useful and fun way to make your bathroom sleeker and more contemporary. Other steps, like installing a new toilet, sink or shower head, are more timeless but equally powerful ideas.

8. Change Light Fixtures

Instantly update your old bathroom by installing newer light fixtures. Upgrade from the style you currently have to a newer, more modern lighting alternative. Whether your current fixtures are wall scones or ceiling lights, trade in the old for a simple improvement to modernize your bathroom. New light fixtures may also better illuminate your bathroom, making the space look much better as a whole.

Mirabelle, large 4

Fixtures: Mirabelle, available in Kitchen & Bath Classics Showrooms

9. Kick Chrome to the Curb

Chrome taps are old news. Replace the chrome taps in your old bathroom with something more unusual, like brass or copper. This will give your new updated bathroom a unique and aesthetically pleasing look when the new modern tap glistens under the light.

When you kick your chrome faucets to the curb for brass or copper alternatives, you’ll want to make sure you also replace any silver coloured or chrome details and handles. This includes bathroom fixtures like the toilet paper roll holder and door or cabinet handles.

10. Swap Out Your Shower Altogether

If you’re looking for bathroom makeovers on a budget, you may want to opt for 9 of the other ways to modernize your old bathroom, as replacing a shower not only takes time but also money. However, it’s often time and money well spent. Replacing a shower can enhance and modernize any bathroom quickly.

Think about comfort as well. If your current shower head is weak and small, replace it with a waterfall shower head. If you have a tub that you never use, consider taking it out and installing a full walk-in shower with a sliding glass door.

Are you over your old bathroom? If you’re renovating a bathroom, head to a Kitchen and Bath Classics showroom to look for ways to make the space more modern.

Featured Image

8 Ways to Increase the Resale Value of Your Home

8 Ways to Increase the Resale Value of Your Home

The overall resale value of your home depends on a number of complicated factors. But, the good news is there are small ways you can increase your market value and asking price.

Household projects that make your condo or house more appealing and inviting will excite potential buyers and can eventually lead to a healthy return on investment when a deal is closed. Consider these 8 easy steps to improve your home’s value:

8 Ways to Increase Your Home’s Resale Value

8 Ways to Increase the Resale Value of Your Home - Upgrade Kitchen Appliances

Image Credit

1. Upgrade an Old Appliance

The kitchen is an essential part of what makes your house a home. So, you want to make sure this space is as useful as it is visually appealing. An old fridge or dishwasher dates the room and also dictates design possibilities, while more modern, sleeker models give your kitchen new life.

Similarly, if your appliances are especially old, they may not work as well as they used to. Newer options are often more efficient and quiet, which will be appealing to any would-be buyers.

Take a look around your home. What looks old, used, or dated? If you upgrade it, you may be able to see a higher resale value for your home!

8 Ways to Increase the Resale Value of Your Home - Plant Some New Trees

Image Credit

2. Plant a Few Trees

HGTV found that landscaping makes a big difference when it comes to your home’s overall curb appeal. A few well-placed trees are the crucible of an inviting, attractive property. However, you’ll want to be careful about selecting the right species and location.

Adding the right plants can be a relatively inexpensive way to make an impact on your house valuation. And, aside from being visually appealing, trees shade your home in the summer, potentially lowering the amount you need to run the air conditioning. Planting a few trees is a win-win.

8 Ways to Increase the Resale Value of Your Home - Renovate a Bathroom

Image Credit

3. Renovate a Bathroom

A potential buyer may be impressed by your well-manicured lawn and modern kitchen but can still be turned off if they discover a bathroom full of grime and outdated fixtures. Consider making changes to a downstairs or master bathroom in an effort to make your home more memorable.

Gwen Moran, co-author of “Build Your Own Home on a Shoestring.” told Bankrate that making meaningful changes to your bathroom, such as updating bathroom fixtures, is relatively inexpensive but also a reasonable project for homeowners to consider tackling on their own.

8 Ways to Increase the Resale Value of Your Home - Break Out the Paint

Image Credit

4. Break Out the Paint

A fresh coat of paint can help make a room seem more fashionable and newer, but the right colour choice can also convey a mood and sense of vitality. Use this as a launch pad for reimagining a space ahead of a showing.

For example, consider a soft hue in the kitchen to make it feel more appealing and reinforce this by bringing in new lights. In the living room, try a richer, darker shade to create a regal, relaxed atmosphere.

8 Ways to Increase the Resale Value of Your Home - Take Care of Outstanding Issues

Image Credit

5. Get Proactive About Outstanding Issues

An inspection is an important part of selling a home, and if a major issue is uncovered late in the process, the final sale price could drop considerably. Staying ahead of the curve is a way to address issues as soon as possible.

Smaller home repairs are also helpful. These can make your home more visually appealing—as well as more functional and safe. Spend a weekend crossing off the projects on your list that you’ve been putting off.

8 Ways to Increase the Resale Value of Your Home - Check Out the Floors

Image Credit

6. Check Out the Floors

A worn carpet is another way your home can show its age. Stains or tears are particularly off-putting and should be addressed before you start showing your house or condo. Even if you don’t outright replace a carpet, you can cover up blemishes with well-placed furniture or decor like throw rugs. In fact, some buyers may look forward to selecting their own carpet, so only replace your carpet if it’s well past its prime.

Hardwood floors are appealing, but scratches and other issues can be just as discouraging as an old carpet. For that reason, consider paying for a repair or otherwise cover up any blemishes as best you can.

8 Ways to Increase the Resale Value of Your Home - Think Like a Buyer

Image Credit

7. Think Like a Buyer

One of the best ways to assess the potential appeal of your home is to investigate it through the eyes of a potential buyer. Give everything a proper assessment and don’t talk yourself out of clearing up an obvious issue.

Similarly, remember that a buyer will be acutely aware of clutter or poor interior design. Keep things organized and use potted plants or framed photos to make your home look a little more arresting.

8 Ways to Increase the Resale Value of Your Home - Invite a Pro Over

Image Credit

8. Invite a Pro Over

To increase the resale value of your home, spend an hour with someone who knows exactly what they’re doing. Invite over a realtor or interior designer to check out your condo or house.

One of the best parts of this tip? Spending time with an industry professional is low cost and sometimes free! Many realtors will do a walk through with you for free as a courtesy. You’ll likely have to pay a consultation fee to have an interior designer check out your home; however, the hourly fee is usually less than $100. Check out a few interior designers in your area and pick one to spend an hour with getting ideas for improvements needed to increase the market value of your home.


Before getting a house appraisal, do what you need to make a positive change on your house or condo. To see a few options for sprucing up your home, head to a Kitchen and Bath Classics showroom. Our experts can support you in selecting the right addition to increase the resale value of your home. For more information check out one of our showrooms today!

7 Ways to Maximize the Space in Your Small Bathroom Layout

7 Ways to Maximize the Space in Your Small Bathroom Layout

Often, bigger homes will come stuffed with an excess of closets—but only one or one-and-a-half bathrooms. While storage space is always nice, adding an extra bathroom to your floor plan can pay off handsomely if you ever opt to resell your home, not to mention make your life easier if you have a large family.

But if you’re able to find a bit of extra space in your home, you’ll be able to create a small bathroom! Maybe you have an extra closet you never use, or perhaps there’s a nook in your living room that you can close off and transform into a washroom. If you find you have awkward or unnecessary space in your home, consider converting it into a bathroom!

7 Ways to Maximize the Space in Your Small Bathroom Layout - Closet into Bathroom

Image Credit

Turn a Closet into a Half-Bath

If you are looking to convert a smaller closet into a bathroom, adding a full shower or tub might not be possible due to space restrictions. However, simply adding a sink and toilet can still offer impressive return on investment (ROI). These features will be a very attractive feature, both to future buyers and your family when they encounter everyday traffic on the way to the bathroom.

Now… let’s learn how to make the most of a small bathroom layout:

7 Ways to Make the Most of Your Small Bathroom Layout

7 Ways to Maximize the Space in Your Small Bathroom Layout - Small Bathroom Sink

Image Credit

1. Consider smaller fixtures and solutions to make the most of space

After you’ve chosen the right location to fit your small bathroom layout, make a design plan. Of course, even a small layout bathroom and small bathroom designs need to contain the essentials—a sink, lighting, and a toilet. Other bathroom fixtures to consider (if you have space) include bathroom mirrors and cabinets.

Turning a moderately sized closet into a full bathroom can be tricky, but possible if you are efficient with your space. If you want to include a tub or shower, consider space-saving fixtures like fold-up tubs, corner showers or half-footprint tubs.

2. Place plumbing carefully

When placing plumbing fixtures, try to locate them near existing water and sewage lines when possible. Adding your plumbing fixtures against a wall that already has plumbing access will be a big time and money saver. This means you won’t have to deal with the costly relocation of pipes.

When adding fixtures to small bathroom design, it’s imperative to check the structure of the floor before making any additions. You need to do this to ensure the floor will support the weight of the new fixtures. If not, you may need to reinforce the floor by adding more joists.

7 Ways to Maximize the Space in Your Small Bathroom Layout - Small Bathroom Towel Storage

Image Credit

3. Plan for your towel hanging space

Often, where you choose to hang towels becomes an afterthought in bathroom design. With the limited space offered by a closet, it pays to consider this small feature as part of your overall decor. A washstand with towel bars built into it can be a great space-saver.

4. Windows and venting

In addition to the usual concerns of plumbing, one essential thing that is often ignored when planning a new bathroom is the issue of venting and window space. The build-up of steam in a bathroom makes having some form of venting required to avoid developing mold or mildew.

If the small powder room is too far into your house for a window, a fan vent can help keep air circulating as well. This will prevent stuffiness in the room while also helping you avoid developing mold or mildew. Depending on where you live, a vent might even be required to keep your bathroom up to code.

Talk to your contractor about the best way to install venting or adding extra light with a window or skylight.

5. Focus on taller, leggier tables

To make the most of closet bathroom space, opt for tall, open base tables that take up less of your floor plan.

6. Keep patterns simple

A mish-mash of colours and patterns can make a smaller, enclosed space feel cluttered and claustrophobic. Paint or tile with bright, simple colours to make your new bathroom feel more open.

7 Ways to Maximize the Space in Your Small Bathroom Layout - Small Bathroom Storage

Image Credit

7. Add simple storage

While having storage in a bathroom is always nice, regardless of the size, storage should not be put in at the expense of mobility. It’s critical to make the small bathroom layout usable. Fixtures and storage need to be spaced so that they are all accessible in the room and there’s still enough room for people to stand.

If a large vanity takes up too much room in your tiny bathroom, try using a simple medicine cabinet instead. You can even add a small rack to keep extra toilet paper and hand towels so no one is ever left without supplies they need.

Before starting any construction on your new small bathroom renovation, check out your local ordinances. Make sure you’re keeping everything in the room up to code. Also, look into permits for your area, as you may need to file proper permits, as well.


Are you on the other side of the spectrum and have bathroom space to spare? Consider turning part of your master bathroom into a partial closet to add storage and shelving space. This will add a similar value to your home! For more inspiration, visit a Kitchen and Bath Classics showroom today.

How to Choose the Best Material for Bathroom Fixtures

How to Choose the Best Material for Bathroom Fixtures

When choosing the right bathroom fixtures and hardware — like faucet handles, knobs, towel racks and sconces — there are three main considerations you need to look at. These include resilience, design and cost.

How much weight you assign to each consideration is totally subjective and is flexible based on the scope of the project and your budget, but focusing on some combination of the three can be very helpful in figuring out what you are looking for. If you’re updating your bathroom fixtures, keep reading to find out all you need to know on resilience, design and cost.

3 Main Factors to Consider When Choosing Bathroom Fixtures

How to Choose the Best Material for Bathroom Fixtures

Image Credit

1. Resilience

Resilience is an essential feature of bathroom hardware since function is a top priority in all bathroom design. Your hardware should be made to be touched over and over again, as well as get wet without significant degradation. For this reason, organic materials like wood are rarely used in bathroom hardware.

Metals like brass, nickel and bronze are common since they stand up to moisture and rubbing quite well. Iron is less commonly used as it can oxidize and rust over time, leading many homeowners to replace it with stainless steel or cover it with a water-resistant coating. Alternatively, glass is an option, though some report that glass can get too slippery when wet.

You can coat most metal and plastic fixtures with almost any finish. This means when shopping for bathroom fixtures, make sure to ask about what martial is inside the faucet body. Another trick is to lift the fixture and feel the weight. Since a good quality bathroom faucet will have some heft, you’ll want to feel out how heavy various faucets are in your hands.

How to Choose the Best Material for Bathroom Fixtures - Riobel Faucets

Riobel faucets (pictured) are available at Kitchen & Bath Classics locations

2. Design

Choosing the design that is right for you is an entirely personal decision. In general, it pays to keep your bathroom design scheme relatively consistent. A modern, high-tech shower might look out of place with lush, turn-of-the-century decor. However, fixtures and hardware are a great place to insert a little bit of quirkiness or personal character since they are most often small, unobtrusive touches.

“You can mix metals,” Jennifer Markanich, owner and designer of Timeless Interiors, told HGTV. “But it’s easier to mix metals in the kitchen than in the bathroom.”

You can also feel free—if you like your current fixtures and just want to update them to match a bathroom remodel—to paint or spray-coat existing hardware. Just make sure to choose a fast drying, waterproof paint that is specially formulated to coat metal or glass.

As bathroom faucets are the crown jewels of any bathroom, you’ll want to carefully consider the design of this bathroom fixture. Coming in different shades, shapes and finishes, the possibilities for bathroom faucets are endless. When picking out a faucet, incorporate the design of your entire bathroom. Also consider the size of your bathroom and what kinds of faucets are can typically be found in similar styled and sized homes.

You’ll also want to consider the finishes of your bathroom fixtures such as the bathroom faucet and bathtub faucet. Some faucet finishes include chrome, brushed chrome, polished brass, pewter, stainless, gold plating, or powder-coated enamel.

How to Choose the Best Material for Bathroom Fixtures - Luxury Bathroom

Image Credit

3. Cost

We know that if you could, you’d design the bathroom of your dreams and spare no expense. This would carry all the way down to the most lavish, beautiful fixtures money can buy. Unfortunately, this isn’t always feasible. More so than design and resilience, cost has a tendency to drive certain decisions when it comes to choosing bathroom hardware.

That isn’t to say that you can’t find bathroom fixture materials that are beautiful and inexpensive. Recycled or antique brass can often be quite affordable and easy to find, while sleek stainless steel can offer great performance for a very attractive price.

What About Materials?

Different metal finishes each have their own unique advantages when it comes to resilience, cost, and design of the bathroom fixtures. Brass, steel, zinc, and plastic are all options for bathroom faucet body materials.

How to Choose the Best Material for Bathroom Fixtures - Brass Fixtures

Image Credit

1. Brass

Brass is a solid bet for bathroom fixtures, as all-brass faucet bodies last for many years. They’re also unlikely to leak or corrode. So, it’s often worth paying a little extra for forged brass bathroom faucets.

How to Choose the Best Material for Bathroom Fixtures - Stainless Steel Bathroom Fixtures

Image Credit

2. Stainless Steel

Stainless steel faucets can be a good option for some bathrooms. However, cheap faucets are likely to rust, and stainless steal faucets usually won’t last any longer than a good brass model faucet. And, since stainless steel is typically a little more pricey, the extra cost may not be worthwhile in comparison to a brass faucet.

How to Choose the Best Material for Bathroom Fixtures - Zinc Bathroom Fixtures

Image Credit

3. Zinc and Zinc Alloys

Among the cheapest faucets are those made of zinc and zinc alloys. These are also the least durable of metal faucets.

How to Choose the Best Material for Bathroom Fixtures - Plastic Bathroom Fixtures

Image Credit

4. Plastic

Lastly, a plastic bathroom faucet will be the most inexpensive, and also the least durable. One positive aspect of plastic faucets, however, is that they are the only models that don’t contain lead.


Want to learn more about the best bathroom fixtures and bathroom hardware materials? Contact Kitchen and Bath Classics or stop by a Kitchen and Bath Classics Showroom today to check out American Standard, Moen Canada, Grohe Canada bathroom fixtures and more! We are your local plumbing supply showroom with locations across Western Canada and Ontario.

5 Simple Kitchen Lighting Tips You Need to Know in 2018

5 Simple Kitchen Lighting Tips You Need to Know in 2018

As one of the most important rooms in a house, you want a kitchen that reflects the warmth of your home. To create a welcoming vibe, kitchen lighting is an essential element. Pay close attention to your lighting fixtures when you’re building your dream kitchen.

Whether you’re simply prepping snacks or cooking elaborate meals, hosting dinner parties or just chatting on the phone with a loved one, the right kitchen lighting scheme can make or break your space. This means you need to be conscientious about what kitchen lighting option you choose.

Each kitchen is different and requires a specific solution. Keep reading for a few simple kitchen lighting ideas to let the right life into your life (and kitchen!):

5 Kitchen Lighting Tips For Your Home

5 Simple Kitchen Lighting Tips You Need to Know in 2018 - Layered Lighting

Image Credit

1. Layer Lighting

To achieve the most effective lighting for a kitchen, you’ll need to involve four layers of lighting, according to Randall Whitehead, a lighting designer and author of Residential Lighting: A Practical Guide. These four layers of lighting — task lighting, ambient lighting, accent lighting, and decorative lighting — should be blended together to create a warm and inviting environment.

“The most common mistake people make is trying to light their entire kitchen with one fixture centred in the ceiling,” says Randall. “It ends up being what I call a ‘glare bomb,’ visually overpowering everything in the space, including family and friends.”

No single source can provide enough necessary light for an entire kitchen. This is why layered kitchen lighting is key. Task lighting provides adequate light for cooking tasks. Ambient lighting will create a warm glow in the room and soften shadows. Accent lighting will bring depth and dimension to your kitchen. And lastly, decorative lighting adds the sparkle!

5 Simple Kitchen Lighting Tips You Need to Know in 2018 - Overhead Lighting

Image Credit

2. Shine Bright with Overhead Lighting

A bright overhead light fixture or fixtures are a great option for lighting up your kitchen because it also presents an opportunity to instil a sense of class or personality. Static, flat lights do nothing more than illuminate a room. But, a hanging fixture or other more dynamic setup is much more interesting.

According to Joe Rey-Barreau, director of education for the American Lighting Association, key locations for overhead lighting include underneath the overhead cabinets and over the kitchen island. Basically, anywhere you’ll be slicing and dicing or reading recipes, you’ll want some bright overhead lighting.

Do some research about available options, and choose a kitchen chandelier or other overhead lighting that conveys the right sense of character. A dimmer switch is another awesome enhancement to give yourself more options for your kitchen. This way you can be a little more specific when setting the mood.

5 Simple Kitchen Lighting Tips You Need to Know in 2018 - Accent Lighting

Image Credit

3. Leverage Accent Lighting

The DIY Network found that accent lighting is a clever way to illuminate your kitchen and also add a little style. You can use a few well-placed lights to really give the space a sense of depth and poise.

Consider an overhead light that runs beneath your cupboards and lights up the counter beneath. These under-cabinet lights are more than just helpful when working on countertops! They also provide task lighting and soft, ambient lighting. These kinds of kitchen lighting are what will create a warm glow and inviting space.

You may also use accent lighting in a display case to highlight fine china or favourite photos. Like a dimmer switch, this can also help establish mood in the kitchen because it offers options beyond simply turning the lights on or off.

5 Simple Kitchen Lighting Tips You Need to Know in 2018 - Bright Kitchen

Image Credit

4. Consider a New Paint Job

Beyond physical light fixtures, there are two primary ways to make your kitchen a brighter place. The first is to try and use natural light either by opening or changing curtains, or even installing a new window or skylight.

A paint job is the second way to light up a room. The right hue defines the space. While darker colours can be rich and beautiful, lighter shades and the use of white space could give your kitchen a more inviting and scintillating appeal.

5 Simple Kitchen Lighting Tips You Need to Know in 2018 - Candles in Kitchen

Image Credit

5. Use Decorative Lighting

With the use of candles or lamps, you can further give your kitchen a sense of personality and also improve lighting overall. However, HGTV found that this can be a more expensive pursuit if you aren’t careful about your choices.

Your best bet is to consider decorative lighting last. Once a new fixture or paint job is finalized, then you can get a better sense of what your kitchen would benefit from most and where the best place for a sleek lamp would be.

Would you like to get more involved in your kitchen lighting and decorative lighting? You may want to consider hiring a lighting designer. These lighting professionals will consider your kitchen’s layout along with other elements of the kitchen design, like ceiling height and surface finishes. Then, the lighting designer will help you determine the amount of light you need and where to place the fixture.

To find a professional lighting designer, check out the International Association of Lighting Designers website.

To see more kitchen lighting options, head to a Kitchen and Bath Classics showroom in Saskatoon, Lethbridge, or Regina. Here, our experts can assist you on your journey to kitchen lighting perfection!